1
/
of
3
Akina Customs
60" x 8" Matte Black Windshield Banner Vinyl Decal Sun Strip Shade
60" x 8" Matte Black Windshield Banner Vinyl Decal Sun Strip Shade
Regular price
$14.99 USD
Regular price
$19.99 USD
Sale price
$14.99 USD
Unit price
/
per
Couldn't load pickup availability
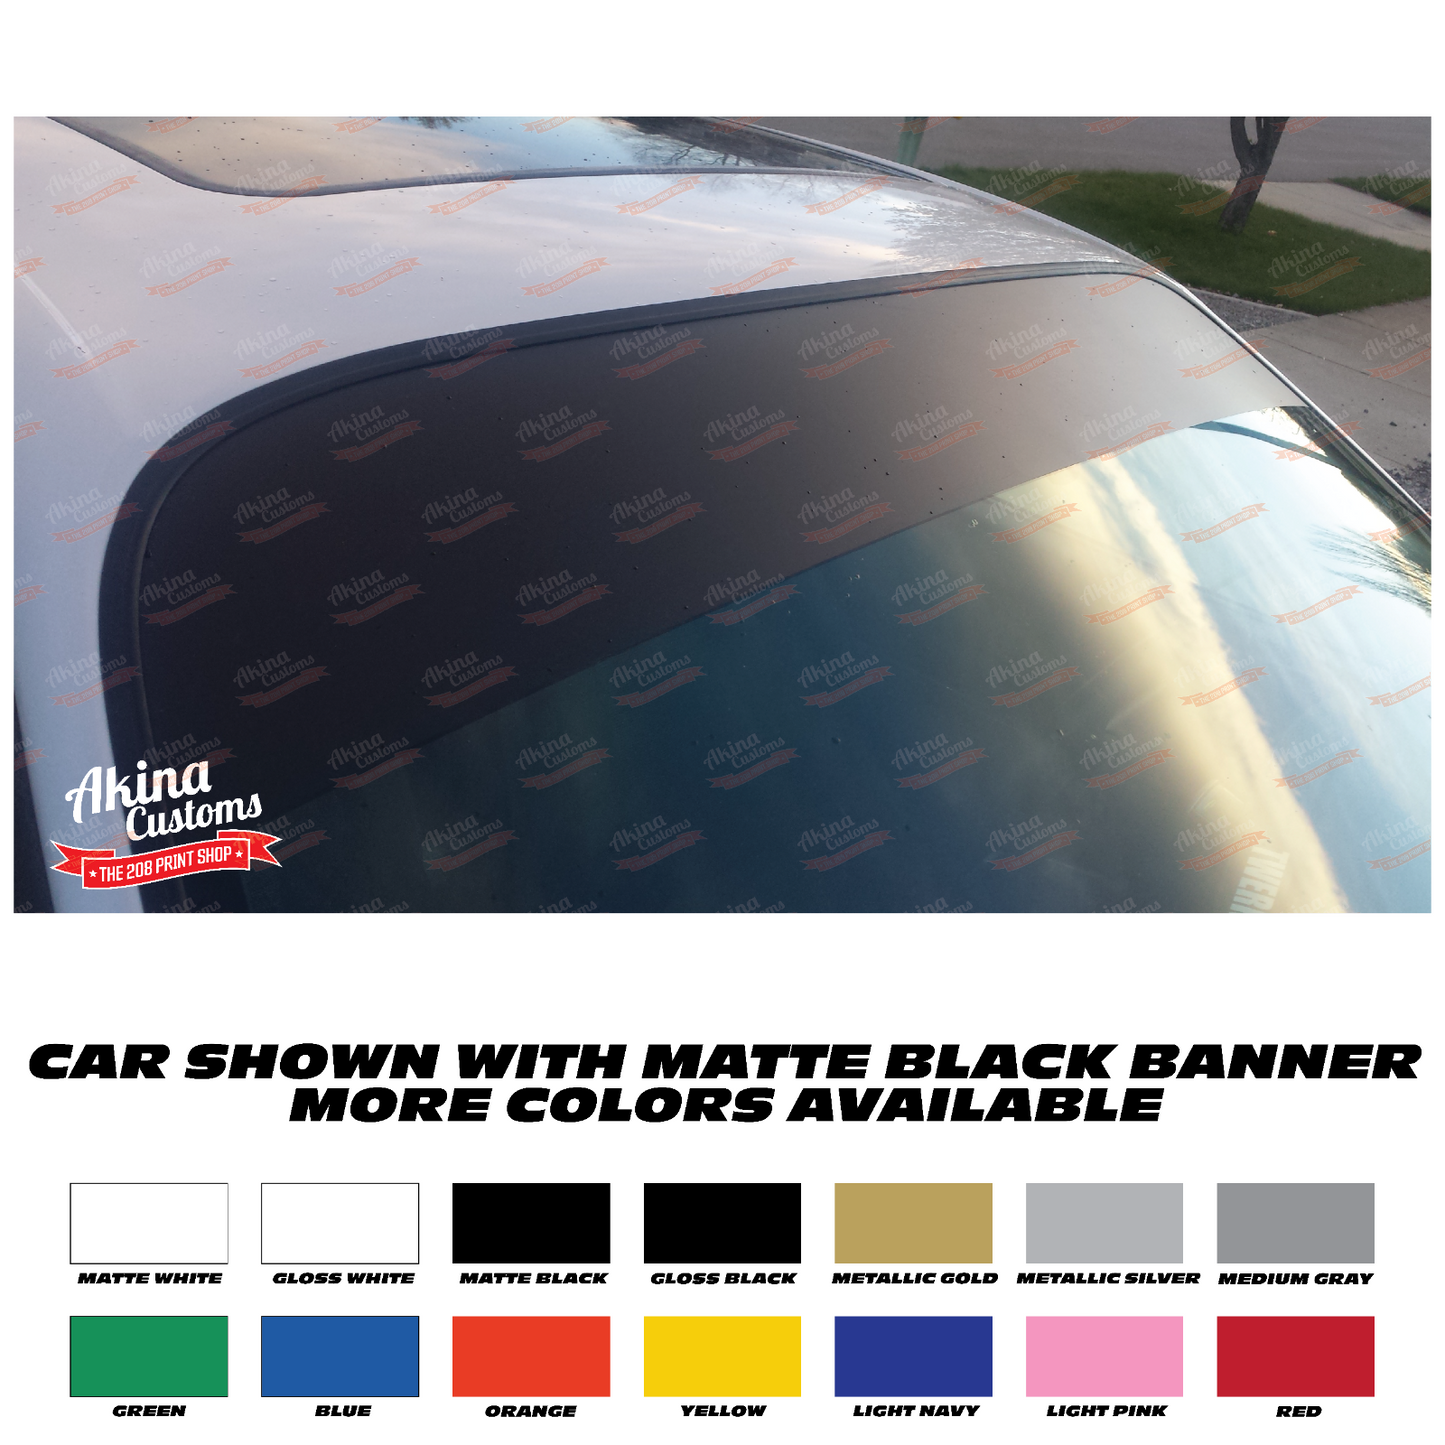
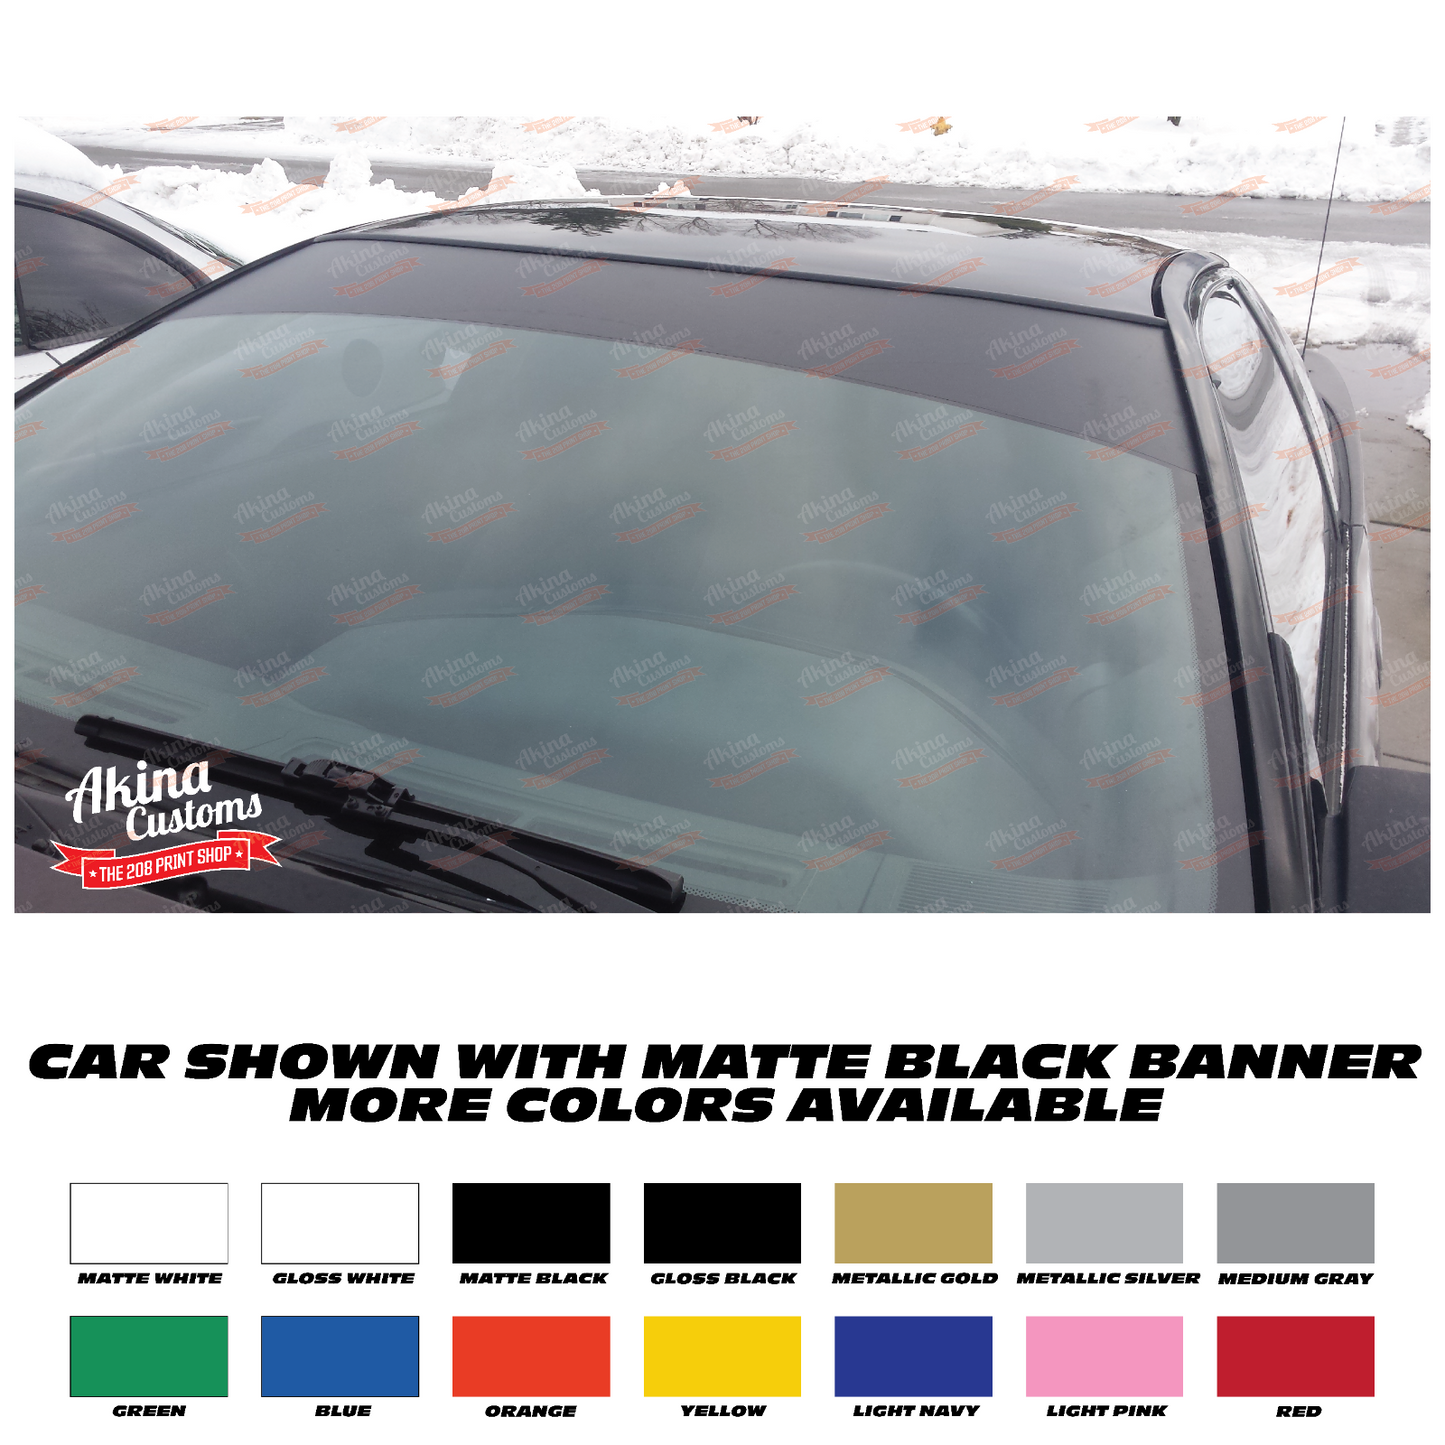
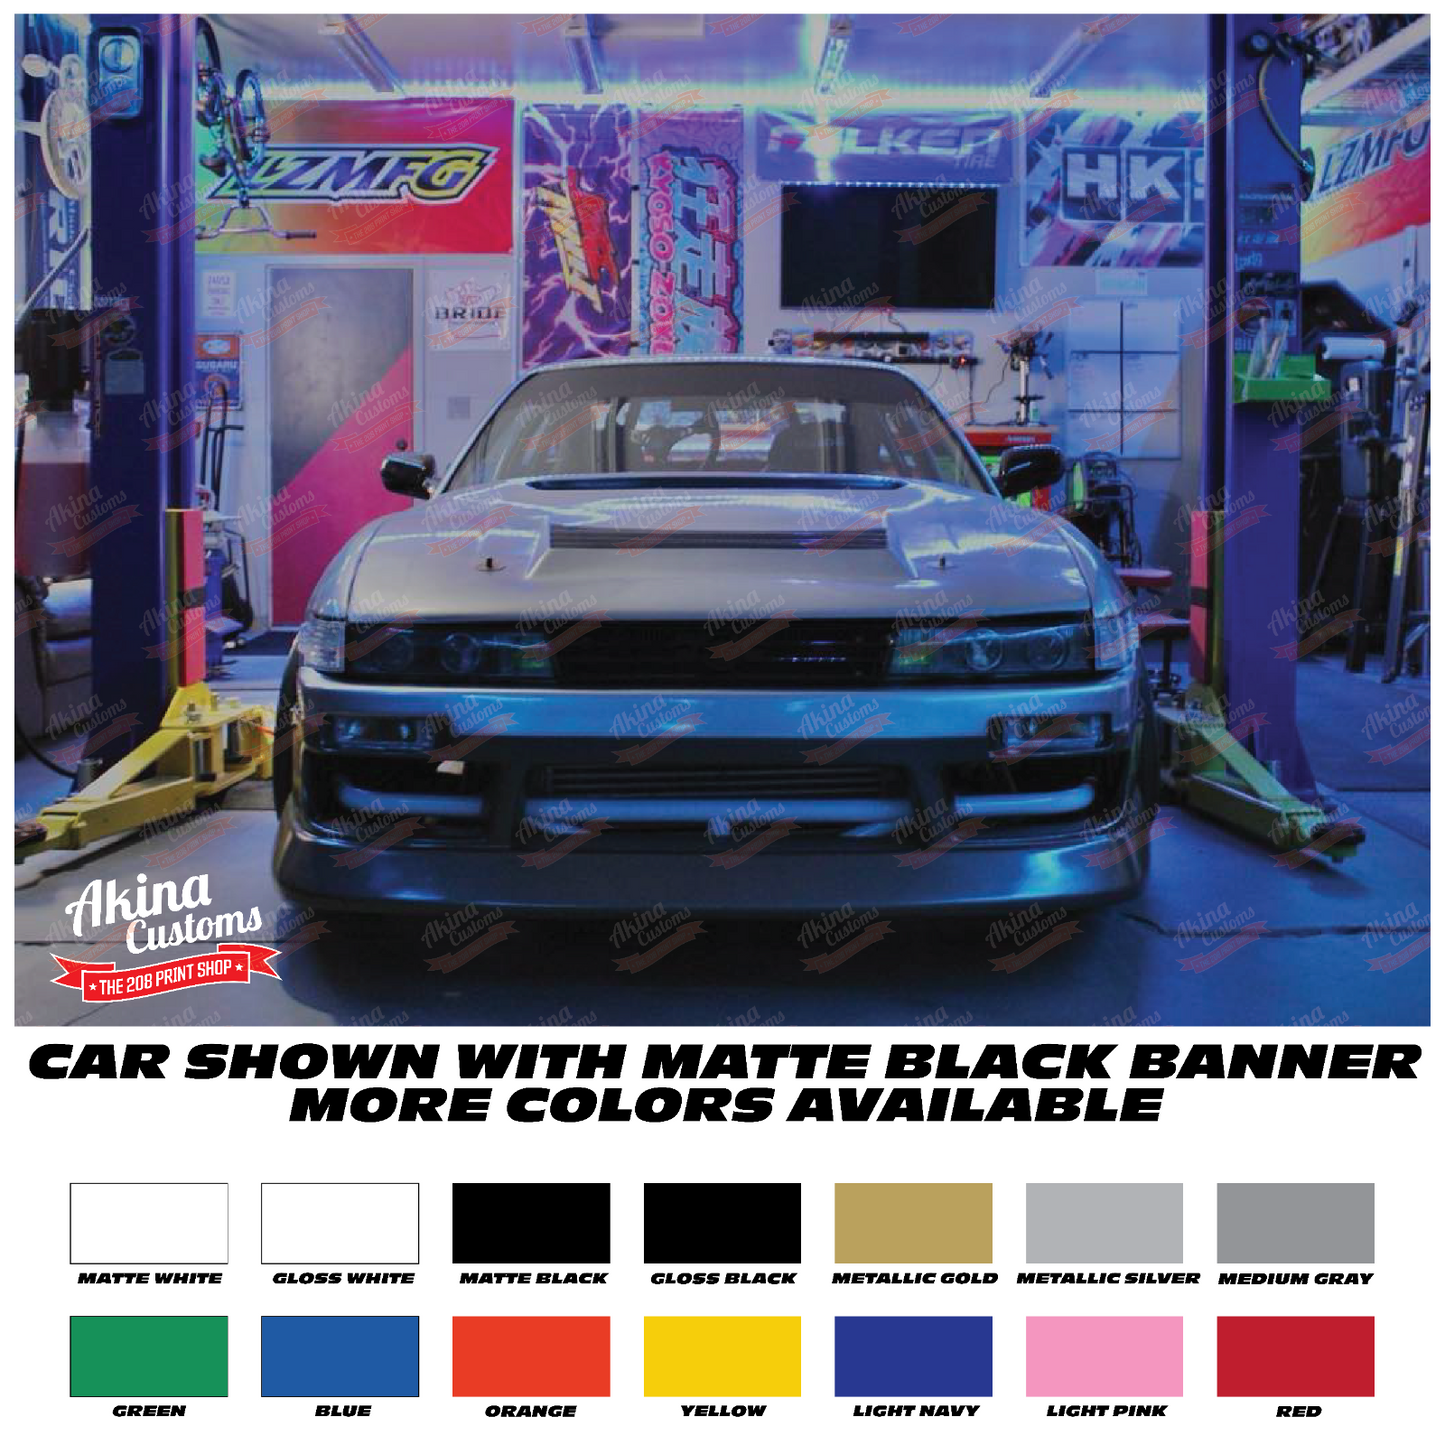
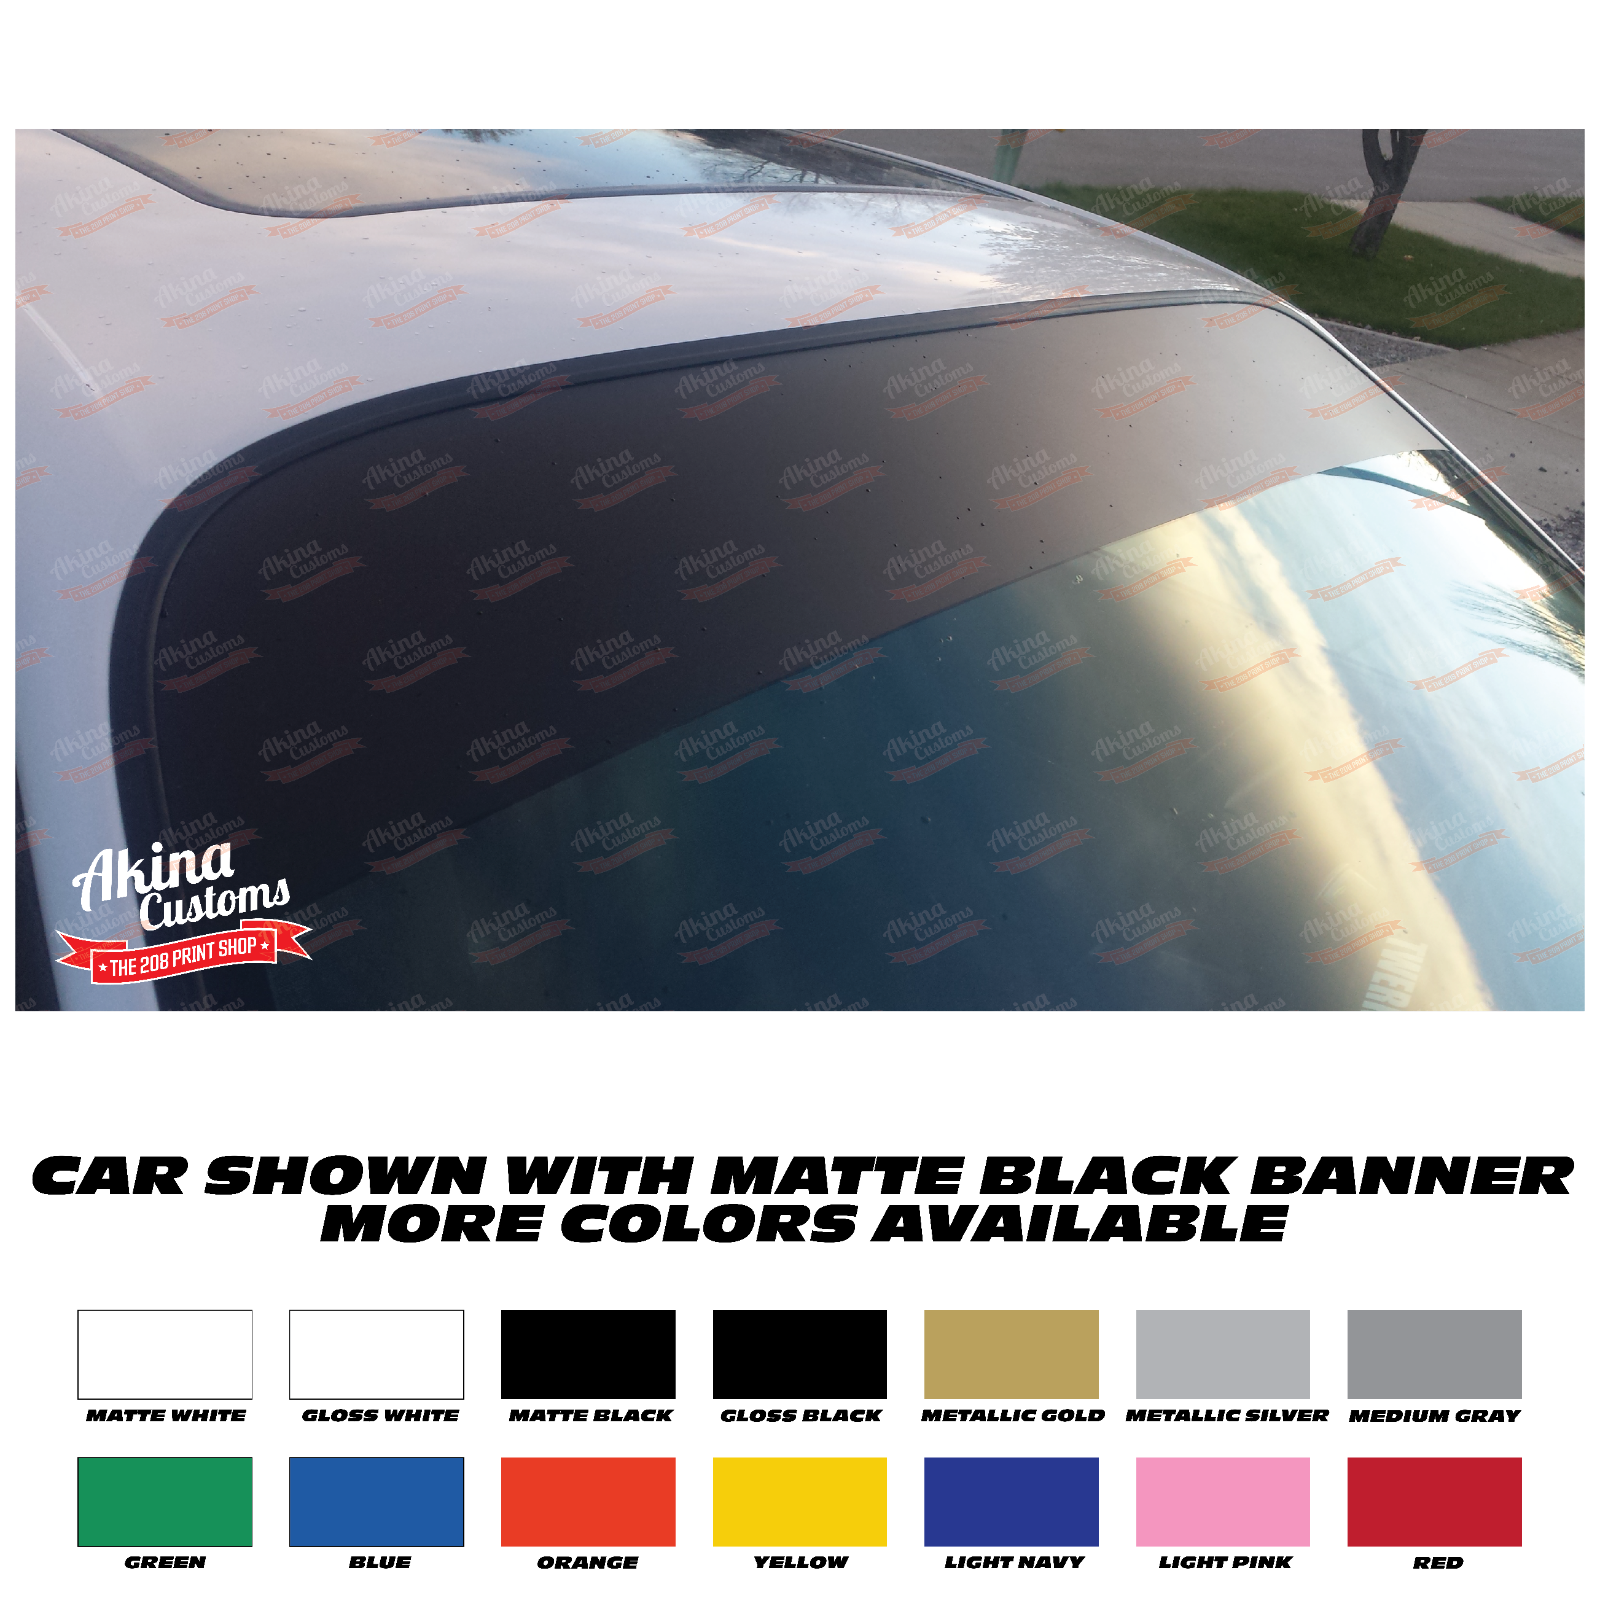
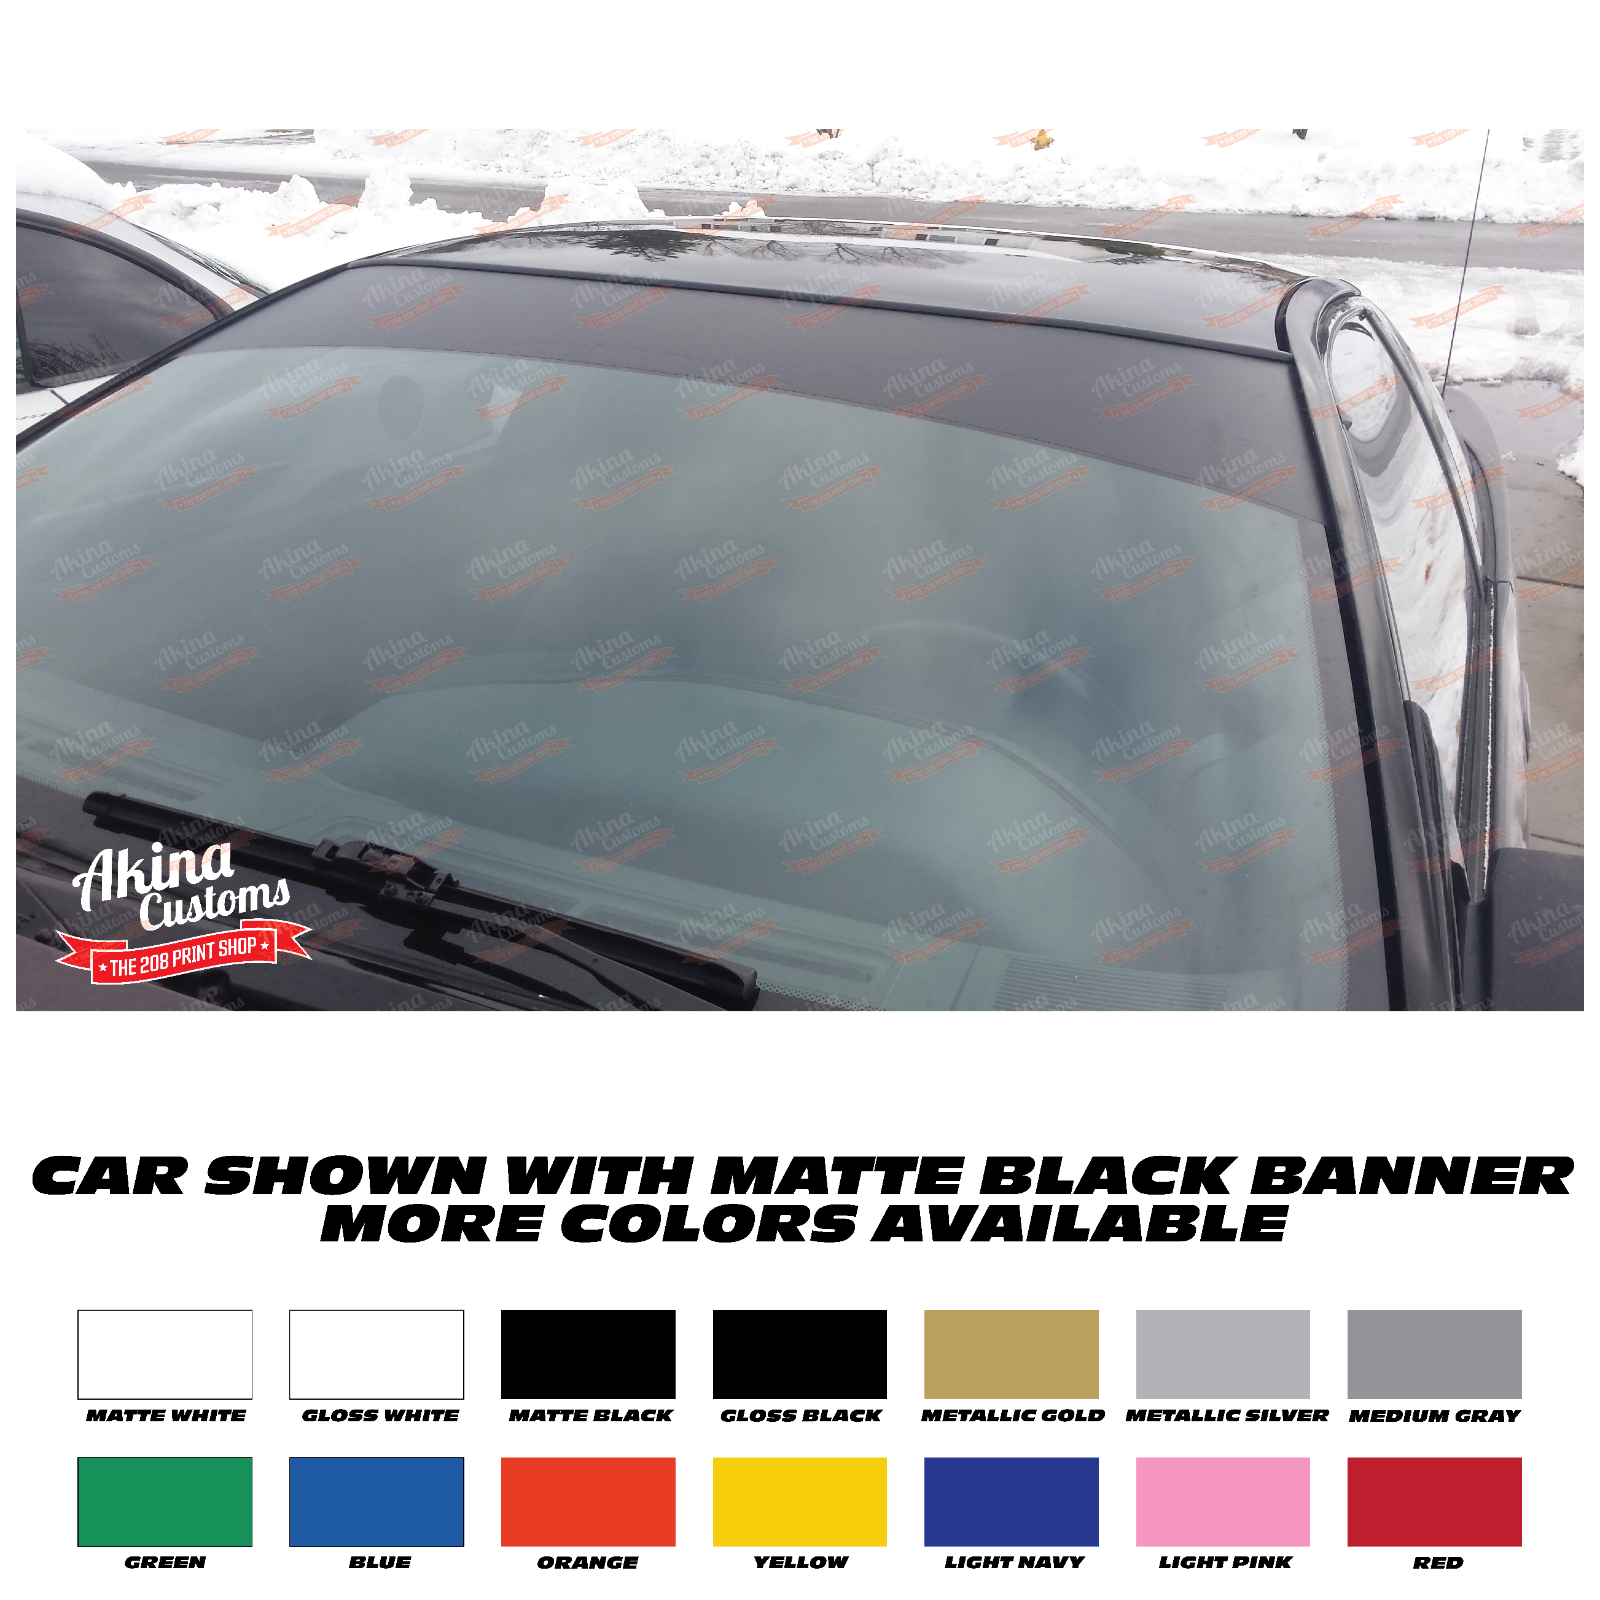
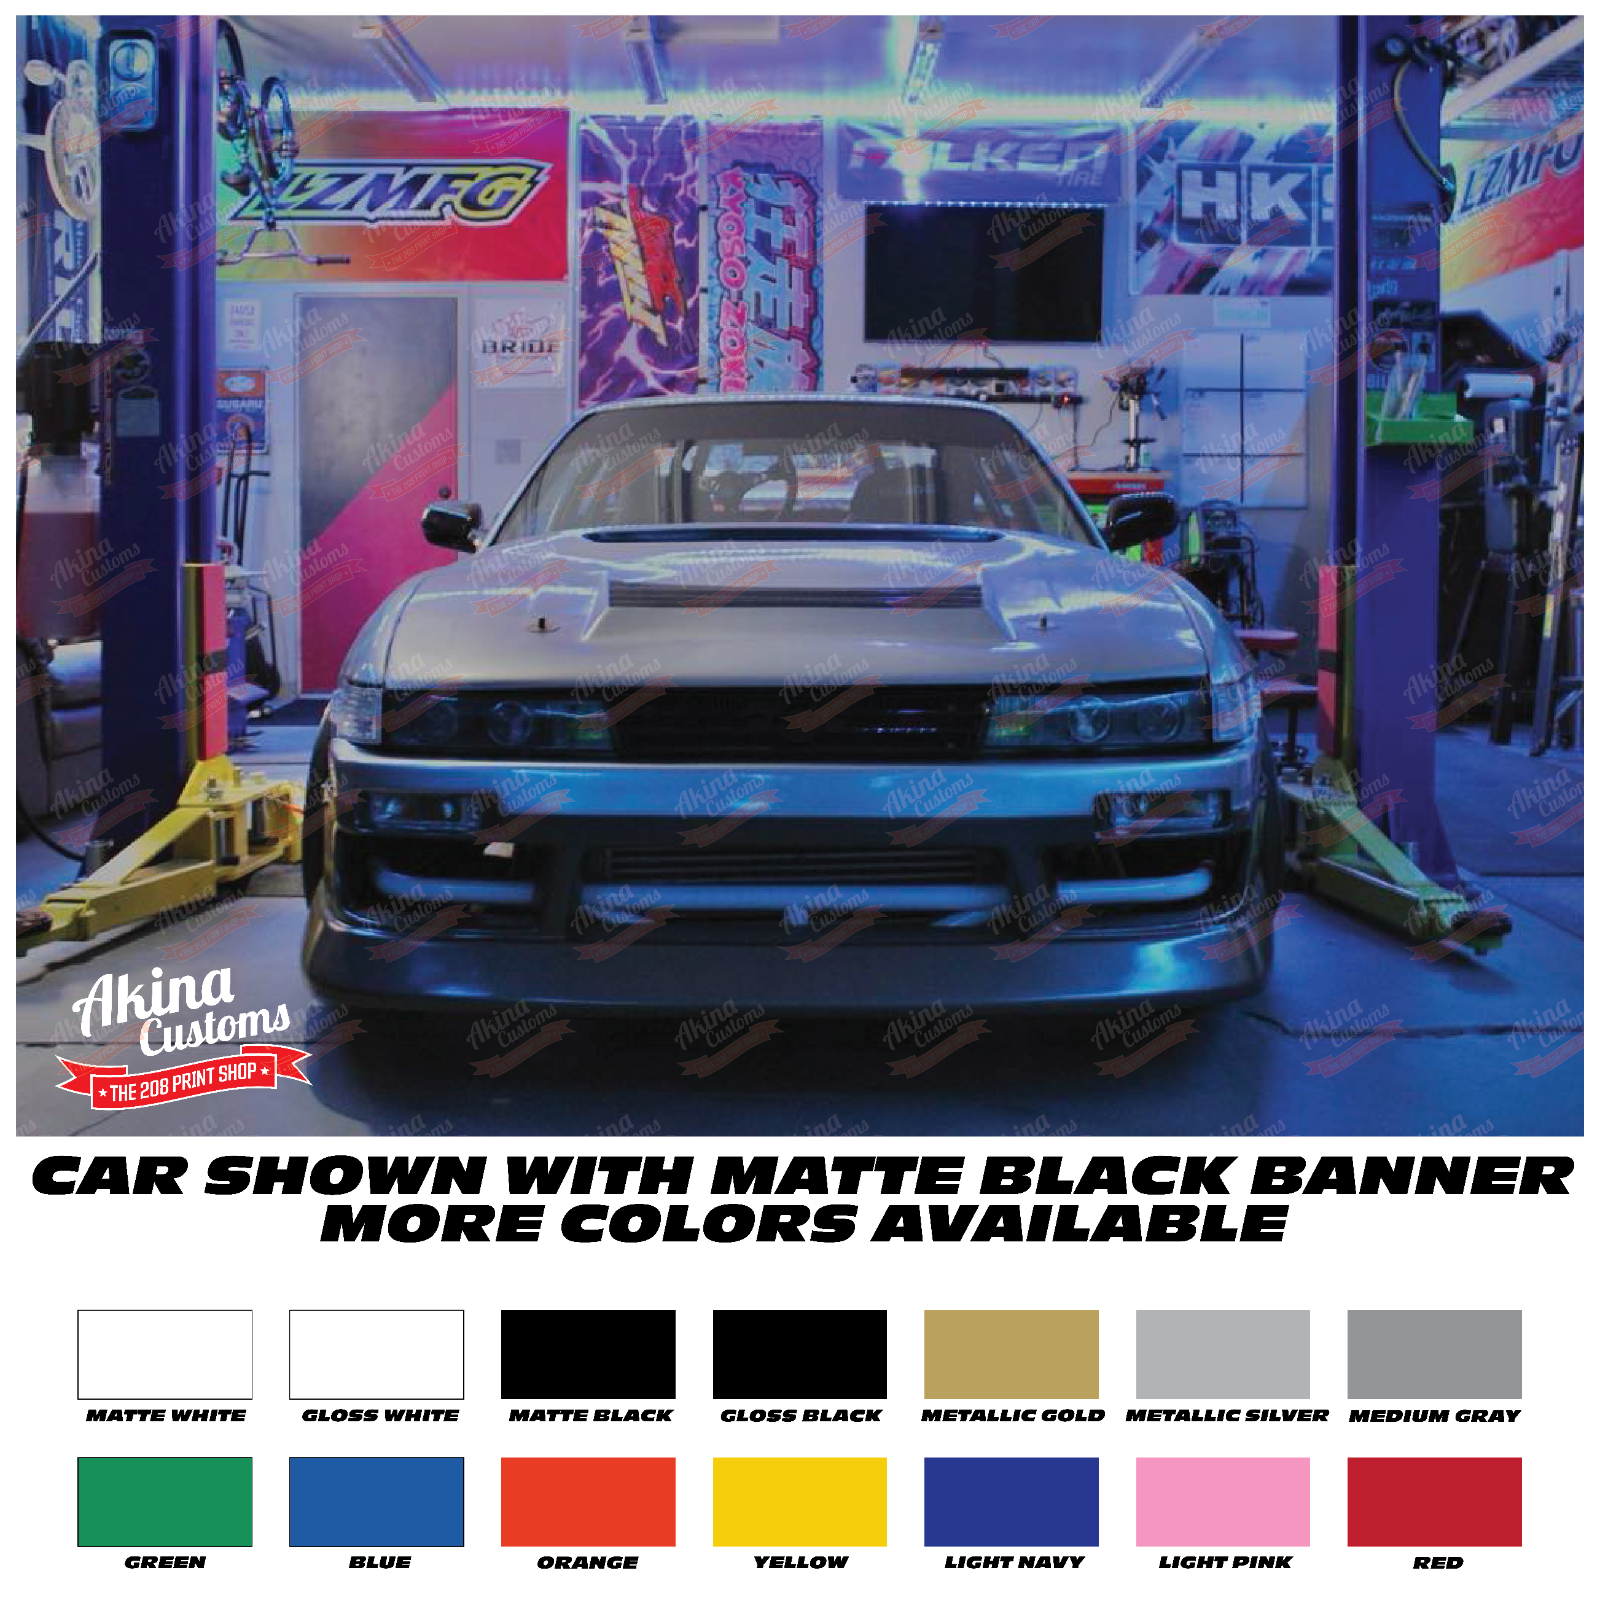
Enhance the look of your vehicle with this 60" x 8" Matte Black Windshield Banner Vinyl Decal Sun Strip Shade from Akina Customs. This JDM-inspired sun visor strip is made of high-quality vinyl material, suitable for application on vans, cars, caravans, and vehicle windows. The placement of this vinyl decal is on the upper part of the windshield, adding an aggressive and sporty look to your ride.
We have been making this windshield banners for about a decade now and always look good on any ride!
Available in multiple colors, sizes, and finishes, you'll love the way they make your car look.
Available in multiple colors, sizes, and finishes, you'll love the way they make your car look.
They hold up extremely well, and we have shop vehicles that have banners on them from 5+ years ago that still look great!
(Gloss banners do scratch a bit easier than the matte finish banners, however both hold up very well.)
They are super easy to install, and only take a little bit of time and patience to have a flawless install. (If in doubt, please have a professional install it for you!)
(Gloss banners do scratch a bit easier than the matte finish banners, however both hold up very well.)
They are super easy to install, and only take a little bit of time and patience to have a flawless install. (If in doubt, please have a professional install it for you!)
Installation Instructions:
INSTALLATION TO ONLY BE PERFORMED WHEN IT IS AT LEAST 45°F (5°C)
Step 1: In a spray bottle, fill with room temperature water and add a few drops of dish soap. (We love the regular dawn soap. Baby shampoo can also be used)
Step 2: Clean your windshield with an ammonia free glass cleaner, and allow the windshield to fully dry. (Can use ISO Alcohol as well)
Step 3: Thoroughly wet the entire top section of the windshield (The area where you are placing the banner) with the mixture from the spray bottle.
Step 4: Peel the backing off off the banner and spray down the entire back side of the banner with the spray bottle. (having a second set of hands can really help with this step, and the next!)
Step 5: Place banner on windshield. The mixture will allow you to slip the banner around on the windsield to help with final placement.
Step 6: Once you have the banner placed where you like, starting from the center and working outwards, squeegee all of the water out from behind the banner.
Step 6: Once you have the banner placed where you like, starting from the center and working outwards, squeegee all of the water out from behind the banner.
Step 7: Using a sharp razor blade, trim away the excess material around the edge of the windshield.,
Step 8: Allow the adhesive to fully cure and dry over the next 24 hours. Keep it out of the rain/snow until cured.
Then enjoy your new banner!
Contact us if you have any questions.
WE ALSO DO FULL PRINTED BANNERS, AND CUSTOM DIECUT ONES AS WELL. MESSAGE US FOR INFO!
Step 8: Allow the adhesive to fully cure and dry over the next 24 hours. Keep it out of the rain/snow until cured.
Then enjoy your new banner!
Contact us if you have any questions.
WE ALSO DO FULL PRINTED BANNERS, AND CUSTOM DIECUT ONES AS WELL. MESSAGE US FOR INFO!
Share
